Over-tightened vent plugs crack housings and cause catastrophic seal failures, while under-tightened plugs leak and contaminate pneumatic systems. Improper installation torque1 is the leading cause of premature vent plug failure in industrial applications. Proper torque specifications for screw-in vent plugs range from 8-15 Nm depending on thread size and housing material, with systematic installation procedures preventing 90% of field failures.
Last month, I received a call from David, a maintenance supervisor at a packaging facility in Michigan, whose rodless cylinder systems were experiencing frequent contamination issues due to improperly installed vent plugs that had loosened over time.
Table of Contents
- What Torque Values Should You Use for Different Vent Plug Sizes?
- How Do Housing Materials Affect Torque Requirements?
- What Installation Tools and Techniques Ensure Proper Torque?
- Why Choose Bepto’s Precision Vent Plug Solutions?
What Torque Values Should You Use for Different Vent Plug Sizes?
Understanding the relationship between thread size and torque requirements prevents installation failures and ensures optimal sealing performance.
Standard torque specifications are: M8 threads2 require 8-10 Nm, M12 threads need 10-12 Nm, M16 threads demand 12-15 Nm, with these values providing optimal sealing without damaging threads or housings.
Standard Torque Specifications Table
| Thread Size | Torque Range (Nm) | Torque Range (ft-lbs) | Housing Type |
|---|---|---|---|
| M8 x 1.0 | 8-10 Nm | 6-7 ft-lbs | Aluminum/Steel |
| M10 x 1.0 | 9-11 Nm | 7-8 ft-lbs | Aluminum/Steel |
| M12 x 1.5 | 10-12 Nm | 7-9 ft-lbs | Aluminum/Steel |
| M16 x 1.5 | 12-15 Nm | 9-11 ft-lbs | Steel/Cast Iron |
| M20 x 1.5 | 15-18 Nm | 11-13 ft-lbs | Steel/Cast Iron |
Critical Installation Factors
Thread Engagement
- Minimum engagement: 1.5 times thread diameter
- Maximum engagement: 2.5 times thread diameter
- Thread condition: Clean, undamaged threads essential
Environmental Considerations
Temperature cycling and vibration affect torque retention:
- High vibration: Use thread locker3 (medium strength)
- Temperature cycling: Increase torque by 10-15%
- Corrosive environments: Apply anti-seize compound
Sarah, a project engineer from a food processing plant in Wisconsin, was experiencing vent plug failures every few months. After implementing our torque specification chart and proper installation procedures, her maintenance intervals extended to over two years. 🔧
How Do Housing Materials Affect Torque Requirements?
Different housing materials require adjusted torque values to prevent thread damage while maintaining proper sealing force.
Aluminum housings require 20% lower torque than steel equivalents to prevent thread stripping, while cast iron can handle 15% higher torque values for enhanced sealing in high-pressure applications.
Material-Specific Guidelines
Aluminum Housings
- Torque reduction: 15-20% below standard values
- Thread preparation: Always use anti-seize compound4
- Installation speed: Slow, controlled tightening
- Risk factors: Thread galling5, housing cracking
Steel Housings
- Standard torque: Use baseline specifications
- Thread treatment: Light oil coating recommended
- Durability: Excellent for repeated installation/removal
- Applications: High-pressure pneumatic systems
Cast Iron Applications
- Torque increase: Up to 15% above standard
- Preparation: Clean threads thoroughly
- Considerations: Brittle material – avoid impact tools
- Best practices: Hand-start threads before torquing
Torque Adjustment Chart
| Base Material | Torque Multiplier | Special Requirements |
|---|---|---|
| 6061 Aluminum | 0.8x standard | Anti-seize mandatory |
| Steel (mild) | 1.0x standard | Light oil coating |
| Stainless Steel | 0.9x standard | Anti-seize recommended |
| Cast Iron | 1.15x standard | Clean threads critical |
| Brass | 0.85x standard | Gentle installation |
What Installation Tools and Techniques Ensure Proper Torque?
Professional installation requires calibrated tools and systematic procedures to achieve consistent, reliable results.
Use calibrated torque wrenches with 3-5% accuracy, apply torque in two stages (finger-tight plus final torque), and verify installation with pressure testing to ensure leak-free performance.
Essential Installation Tools
Torque Wrench Selection
- Accuracy: ±3-5% of reading minimum
- Range: Cover 5-25 Nm for most applications
- Type: Click-type or digital display
- Calibration: Annual certification required
Support Equipment
- Thread gauges: Verify thread condition
- Cleaning supplies: Solvent and lint-free cloths
- Lubricants: Anti-seize compound, light oil
- Pressure tester: Verify installation integrity
Step-by-Step Installation Procedure
Pre-Installation Inspection
- Thread condition: Check for damage, debris
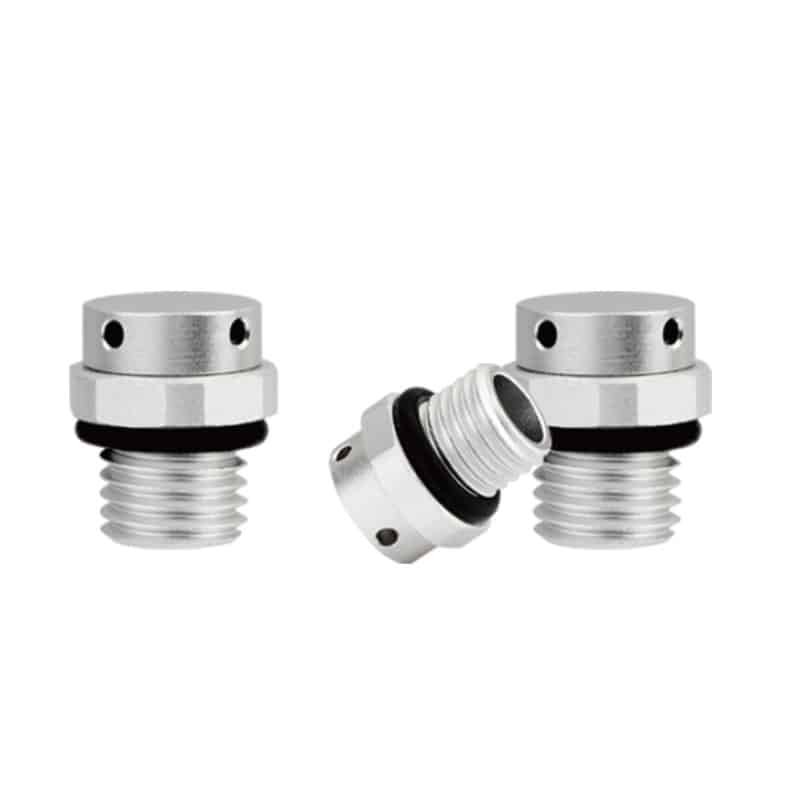
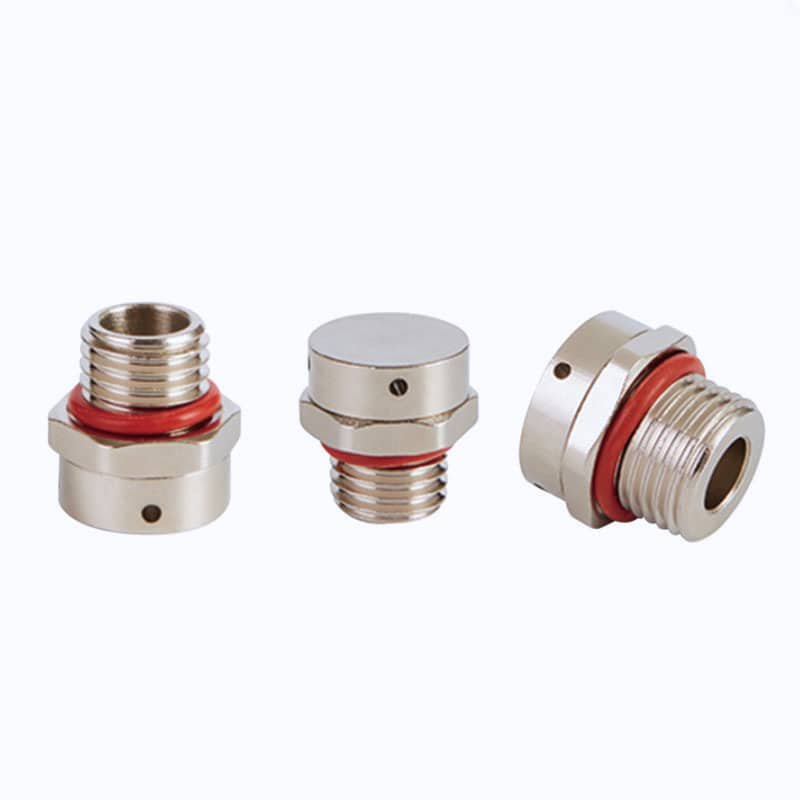
- Vent plug integrity: Inspect O-ring, membrane
- Housing preparation: Clean threads, apply lubricant
- Tool calibration: Verify torque wrench accuracy
Installation Process
- Hand installation: Thread in by hand until finger-tight
- Initial torque: Apply 50% of specified torque
- Final torque: Complete to full specification
- Verification: Check with pressure test (2-5 bar)
Michael, a maintenance technician from an automotive plant in Ohio, reduced his vent plug replacement rate by 85% after implementing our systematic installation procedures and investing in a quality torque wrench.
Why Choose Bepto’s Precision Vent Plug Solutions?
Our engineering expertise and quality manufacturing deliver superior vent plugs designed for reliable, long-term performance in demanding applications.
Bepto vent plugs feature precision-machined threads, high-grade sealing materials, and comprehensive installation documentation – providing 40% longer service life at 30% lower cost than OEM alternatives.
Our Vent Plug Advantages
Quality Features
- Precision threads: CNC-machined to ISO standards
- Premium seals: Viton O-rings standard
- Membrane technology: ePTFE for optimal performance
- Corrosion resistance: Stainless steel construction
Technical Support
- Installation guides: Detailed torque specifications
- Training materials: Video tutorials available
- Engineering support: Free consultation service
- Quality assurance: 100% pressure tested
Performance Comparison
| Feature | Bepto Solution | OEM Alternative |
|---|---|---|
| Service Life | 5+ years | 3-4 years |
| Cost | 30% less | Premium pricing |
| Torque Specs | Detailed charts | Basic guidelines |
| Technical Support | Comprehensive | Limited |
| Availability | 3-5 days | 2-4 weeks |
We’ve helped hundreds of facilities optimize their vent plug installations, typically achieving 70-90% reduction in maintenance calls while significantly reducing component costs. 🎯
Proper torque specifications and installation procedures are critical for vent plug reliability, preventing both over-tightening damage and under-tightening failures.
FAQs About Vent Plug Torque Specifications
Q: What happens if I over-torque a vent plug during installation?
A: Over-torquing can crack aluminum housings, strip threads, or damage O-ring seals, leading to immediate or premature failure. Always use calibrated torque wrenches and follow manufacturer specifications to prevent costly damage.
Q: How often should I check vent plug torque in high-vibration applications?
A: Inspect torque every 6 months in high-vibration environments, or after 1000 operating hours. Use medium-strength thread locker and increase torque by 10-15% to compensate for vibration-induced loosening.
Q: Can I reuse vent plugs after removal for maintenance?
A: Yes, but inspect threads and O-rings carefully before reinstallation. Replace O-rings if damaged and apply fresh anti-seize compound. Reuse is acceptable for 3-4 cycles with proper inspection.
Q: What’s the best way to remove an over-tightened vent plug?
A: Apply penetrating oil and wait 30 minutes, then use a proper-fitting wrench with steady pressure. Avoid impact tools which can damage threads. Heat application may help in severe cases.
Q: Do temperature changes affect vent plug torque requirements?
A: Yes, thermal cycling can cause torque relaxation. In applications with wide temperature swings (-20°C to +80°C), increase initial torque by 10-15% and inspect more frequently during the first year of operation.
-
Understand the fundamental physics of torque and how it creates the clamping force necessary for secure mechanical joints. ↩
-
Review a standard chart for ISO metric screw threads to understand the relationship between nominal diameter, pitch, and standard sizing. ↩
-
Learn about the anaerobic curing process of thread-locking adhesives and how they prevent fasteners from loosening due to vibration. ↩
-
Discover the composition of anti-seize compounds and how they protect threaded fasteners from galling, corrosion, and seizing. ↩
-
Explore the mechanism of thread galling, a form of wear caused by adhesion between sliding surfaces, which is common in stainless steel and aluminum fasteners. ↩