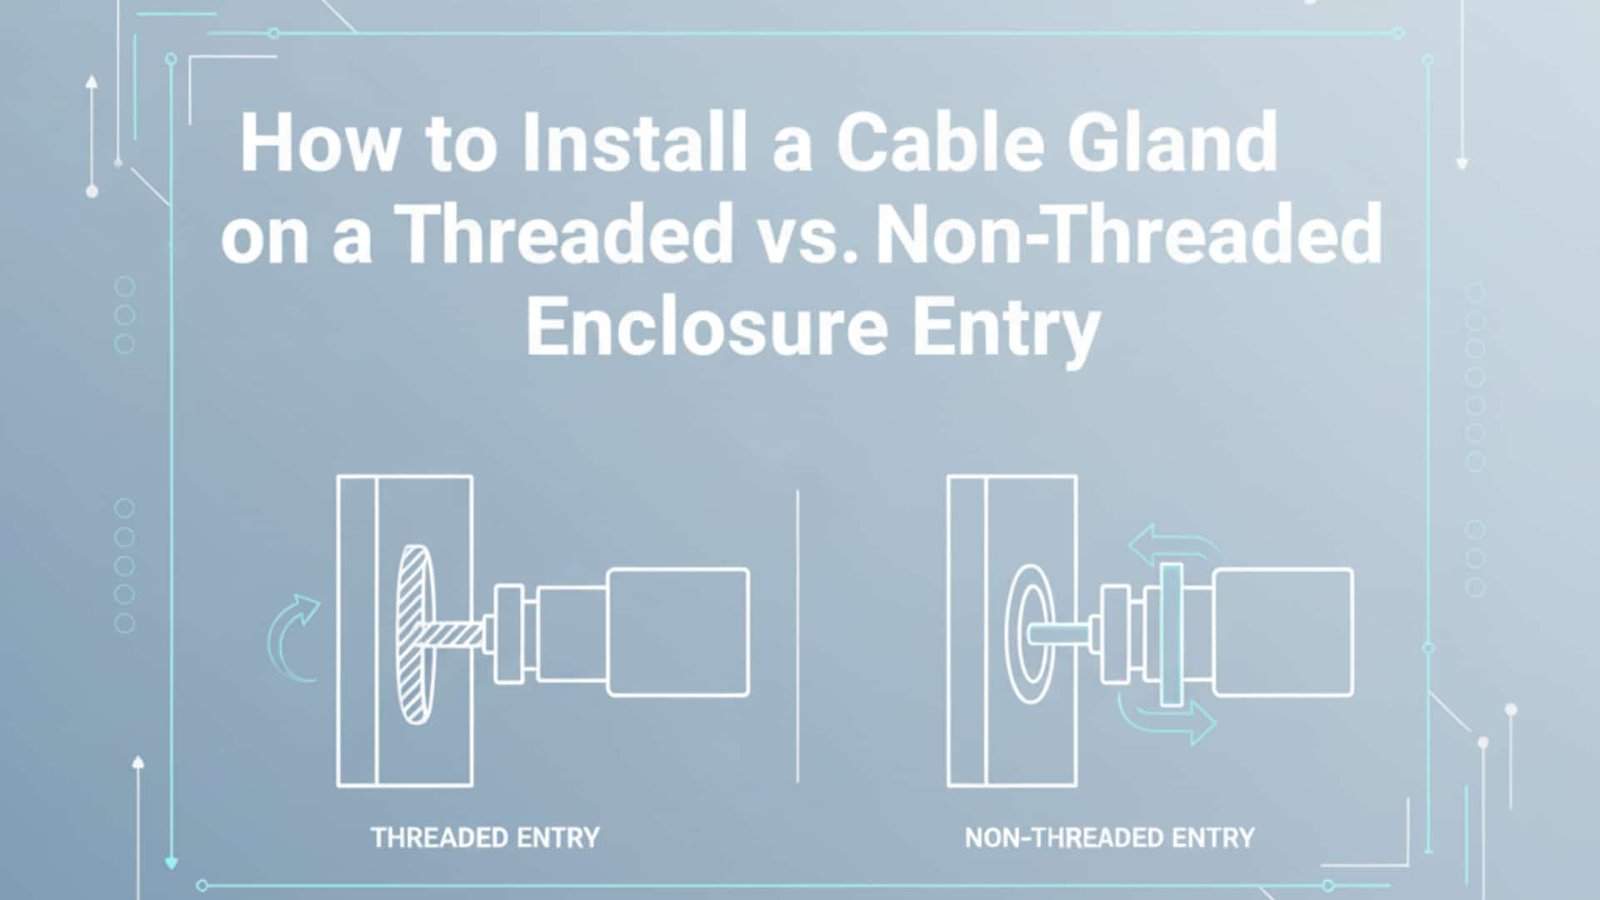
Installing cable glands incorrectly can lead to water ingress, cable damage, and costly equipment failures. Many technicians struggle with choosing the right installation method, especially when dealing with different enclosure entry types that require completely different approaches and tools.
The key difference in cable gland installation is that threaded entries require direct threading and torque application, while non-threaded entries need additional mounting hardware like locknuts, washers, or flanges to secure the gland properly. Understanding these fundamental differences ensures proper sealing, mechanical stability, and long-term reliability.
After helping thousands of customers solve installation challenges over the past decade, I’ve seen how the wrong approach can turn a simple 10-minute job into hours of frustration and rework. Let me share the proven techniques that will make your next installation smooth and professional.
Table of Contents
- What Are the Key Differences Between Threaded and Non-Threaded Installations?
- How Do You Install Cable Glands on Threaded Enclosure Entries?
- What’s the Proper Method for Non-Threaded Enclosure Installations?
- Which Tools and Materials Do You Need for Each Method?
- How Do You Troubleshoot Common Installation Problems?
- FAQs About Cable Gland Installation Methods
What Are the Key Differences Between Threaded and Non-Threaded Installations?
Understanding the fundamental differences between these installation methods is crucial for selecting the right approach and avoiding costly mistakes that could compromise your entire electrical system.
Threaded installations provide direct mechanical connection through matching threads, while non-threaded installations rely on additional hardware components to create secure mounting and proper sealing. Each method has distinct advantages and specific applications where it performs best.
Threaded Entry Characteristics
Advantages:
- Direct Threading: No additional mounting hardware required
- Higher Torque1 Capability: Can withstand greater mechanical stress
- Compact Design: Minimal space requirements
- Superior Sealing: Thread engagement provides primary seal
- Professional Appearance: Clean, streamlined installation
Common Applications:
- Metal enclosures with pre-tapped holes
- Junction boxes with threaded entries
- Control panels and switchgear
- Industrial equipment housings
- Hazardous area installations
Non-Threaded Entry Characteristics
Advantages:
- Versatile Hole Sizes: Works with various diameter openings
- Easier Modification: Simple drilling without threading
- Cost-Effective: Lower tooling requirements
- Field Adaptable: Can modify hole size on-site
- Multiple Sealing Options: Various gasket and washer configurations
Common Applications:
- Fiberglass and plastic enclosures
- Custom fabricated housings
- Retrofit installations
- Temporary or portable equipment
- Budget-conscious projects
I remember working with Marcus, a maintenance supervisor at a food processing plant in Netherlands. He initially tried to force threaded cable glands into non-threaded holes, resulting in cracked enclosures and compromised IP ratings2. After switching to the proper flanged cable glands with appropriate sealing washers, his installation time dropped by 60% and seal integrity improved dramatically.
How Do You Install Cable Glands on Threaded Enclosure Entries?
Threaded installations require precision and proper technique to achieve optimal performance. Following the correct sequence and torque specifications ensures reliable sealing and prevents thread damage.
For threaded installations, the critical steps are thread preparation, proper engagement sequence, and accurate torque application using calibrated tools to achieve manufacturer specifications. This methodical approach prevents the most common installation failures we encounter.
Step-by-Step Threaded Installation Process
1. Pre-Installation Preparation
- Verify thread compatibility (metric, NPT, or PG)
- Clean all threaded surfaces thoroughly
- Inspect threads for damage or debris
- Check cable gland components for completeness
- Prepare cable according to manufacturer specifications
2. Thread Sealant Application
- Apply appropriate thread sealant (PTFE tape3 or liquid compound)
- For NPT threads: 2-3 wraps of PTFE tape in clockwise direction
- For metric threads: Thin layer of thread compound if specified
- Avoid over-application that could contaminate seals
3. Initial Threading
- Start threading by hand to prevent cross-threading4
- Ensure smooth engagement for first 2-3 turns
- Stop if resistance is encountered and realign
- Never force or use tools for initial engagement
4. Final Tightening
- Use appropriate wrench or spanner
- Apply manufacturer-specified torque values
- For brass glands: typically 15-25 Nm
- For stainless steel: typically 20-35 Nm
- Stop when specified torque is reached
Critical Torque Specifications
| Gland Material | Thread Size | Torque Range (Nm) | Torque Range (ft-lbs) |
|---|---|---|---|
| Nylon | M12-M25 | 8-15 | 6-11 |
| Brass | M12-M32 | 15-25 | 11-18 |
| Stainless Steel | M16-M40 | 20-35 | 15-26 |
| Explosion-proof | M20-M50 | 25-45 | 18-33 |
What’s the Proper Method for Non-Threaded Enclosure Installations?
Non-threaded installations require additional hardware and careful attention to sealing arrangements. The key is creating a secure mechanical connection while maintaining proper environmental protection.
Non-threaded installations depend on compression sealing using locknuts, washers, and gaskets to create watertight assemblies that can withstand environmental stresses without threaded engagement. Proper component selection and assembly sequence are critical for success.
Required Hardware Components
Essential Components:
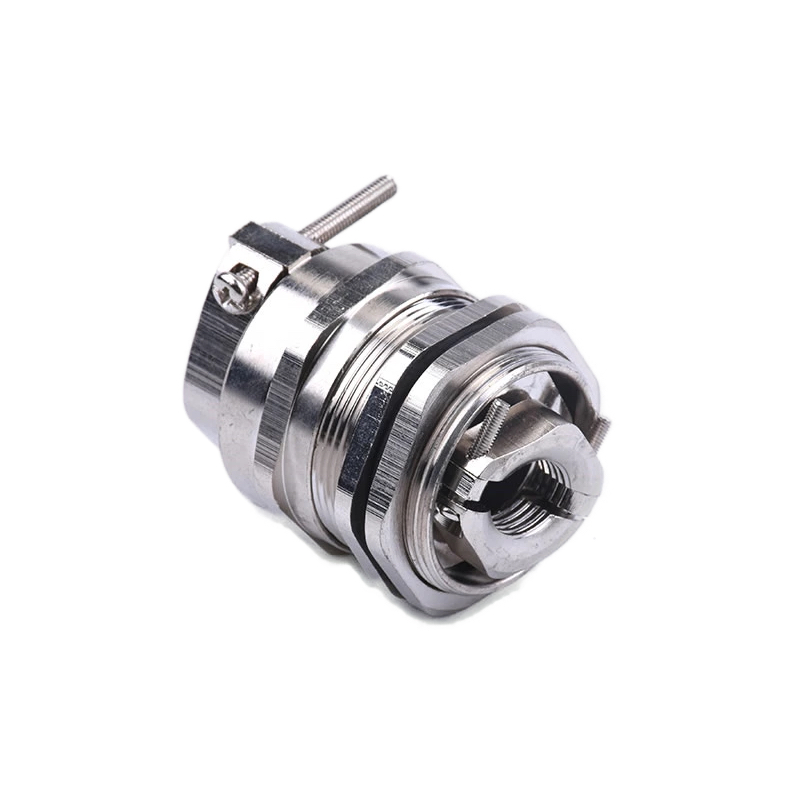
- Flanged Cable Gland: With integrated or separate flange
- Sealing Washer: Rubber or silicone gasket
- Locknut: Matching thread size and material
- Backing Washer: Metal washer for load distribution
Installation Procedure
1. Hole Preparation
- Drill hole to specified diameter (typically gland body diameter + 0.5-1.0mm)
- Deburr hole edges thoroughly
- Clean hole area of debris and cutting oil
- Check hole alignment and perpendicularity
2. Gasket Installation
- Select appropriate gasket material for environment
- Position gasket on enclosure exterior surface
- Ensure gasket is centered and properly seated
- Check for damage or contamination
3. Gland Assembly
- Insert gland through hole from exterior
- Position flange against gasket
- Install backing washer on interior side
- Thread locknut onto gland body
4. Final Tightening
- Tighten locknut while holding gland body stationary
- Compress gasket until slight deformation is visible
- Verify gland cannot rotate in hole
- Check gasket compression uniformity
Ahmed, a project manager from a petrochemical facility in Dubai, initially struggled with non-threaded installations because he was over-tightening the locknuts, causing gasket extrusion and seal failure. After learning the proper compression technique, his team achieved 100% first-pass installations with excellent long-term performance.
Which Tools and Materials Do You Need for Each Method?
Having the right tools and materials is essential for professional installations. Different methods require specific equipment to achieve proper results safely and efficiently.
Threaded installations require torque-controlled tools and thread preparation materials, while non-threaded installations need hole preparation equipment and compression measurement capabilities. Investing in quality tools pays dividends through improved installation speed and reliability.
Threaded Installation Tool Kit
Essential Tools:
- Torque Wrench: Calibrated for specified range
- Cable Gland Spanners: Matching gland hex sizes
- Thread Gauge: For verification and troubleshooting
- Cleaning Brushes: Wire brushes for thread cleaning
- Measuring Tools: Calipers and thread pitch gauge
Materials Required:
- PTFE Tape: High-quality thread sealing tape
- Thread Compound: Liquid sealant for specific applications
- Cleaning Solvent: For thread preparation
- Anti-Seize Compound: For dissimilar metal combinations
Non-Threaded Installation Tool Kit
Essential Tools:
- Hole Saw Set: Various diameters for different gland sizes
- Step Drill Bits: For precise hole sizing
- Deburring Tool: For smooth hole edges
- Adjustable Wrenches: For locknut tightening
- Gasket Compression Gauge: For proper seal verification
Materials Required:
- Sealing Washers: Various sizes and materials
- Locknuts: Matching thread specifications
- Backing Washers: Load distribution components
- Gasket Sealant: Additional sealing compound if required
How Do You Troubleshoot Common Installation Problems?
Even experienced technicians encounter installation challenges. Knowing how to identify and resolve common problems quickly can save significant time and prevent costly rework.
The most common installation problems stem from improper preparation, incorrect hardware selection, or inadequate torque application, with solutions typically involving component replacement or installation technique adjustment. Systematic troubleshooting prevents minor issues from becoming major failures.
Threaded Installation Problems
Cross-Threading Issues:
- Symptoms: Excessive resistance, damaged threads, poor sealing
- Causes: Misalignment, contaminated threads, excessive force
- Solutions: Back out gland, clean threads, restart carefully
- Prevention: Always start threading by hand
Insufficient Torque:
- Symptoms: Loose gland, water ingress, cable pullout
- Causes: Under-tightening, worn tools, incorrect specifications
- Solutions: Re-torque to specification, replace damaged components
- Prevention: Use calibrated torque tools, verify specifications
Non-Threaded Installation Problems
Gasket Extrusion:
- Symptoms: Visible gasket material, poor sealing, uneven compression
- Causes: Over-tightening, wrong gasket material, oversized hole
- Solutions: Replace gasket, reduce compression, check hole size
- Prevention: Monitor compression during tightening
Locknut Loosening:
- Symptoms: Gland rotation, reduced sealing, cable movement
- Causes: Insufficient tightening, vibration, thermal cycling
- Solutions: Re-tighten locknut, add thread locker, check mounting
- Prevention: Proper initial torque, periodic inspection
FAQs About Cable Gland Installation Methods
Q: Can I use a threaded cable gland in a non-threaded hole?
A: Yes, but you’ll need additional hardware including a flanged adapter, sealing washer, and locknut to create proper mounting and sealing. This hybrid approach combines the benefits of threaded glands with non-threaded flexibility, though it requires more components and installation time.
Q: What happens if I over-tighten a cable gland during installation?
A: Over-tightening can damage threads, crack the gland body, or extrude sealing gaskets, compromising the installation’s integrity. For threaded glands, it may strip threads or break the gland. For non-threaded installations, it can cause gasket failure and poor sealing performance.
Q: How do I know which thread type my enclosure has?
A: Use a thread gauge to identify the thread pitch and type. Metric threads have specific pitches (M20x1.5), NPT threads5 are tapered, and PG threads have unique profiles. When in doubt, consult the enclosure documentation or contact the manufacturer for specifications.
Q: Is thread sealant always necessary for threaded cable gland installations?
A: Thread sealant is typically required for NPT (tapered) threads to ensure proper sealing, but may not be needed for metric threads with O-ring seals. Always follow the cable gland manufacturer’s instructions, as requirements vary by design and application environment.
Q: How often should I inspect cable gland installations for maintenance?
A: Inspect installations quarterly for visible damage or loosening, with annual detailed inspections including torque verification and seal condition assessment. In harsh environments or critical applications, monthly visual inspections help identify potential issues before they cause failures.
-
See the official Ingress Protection (IP) code definitions to understand these ratings. ↩
-
Learn the definition of torque and its importance in tightening fasteners properly. ↩
-
Understand what cross-threading is and how to avoid this common installation issue. ↩
-
Discover the properties of PTFE tape and how it’s used to create leak-proof seals. ↩
-
View the specifications for National Pipe Thread Taper (NPT) threads used in the US. ↩


